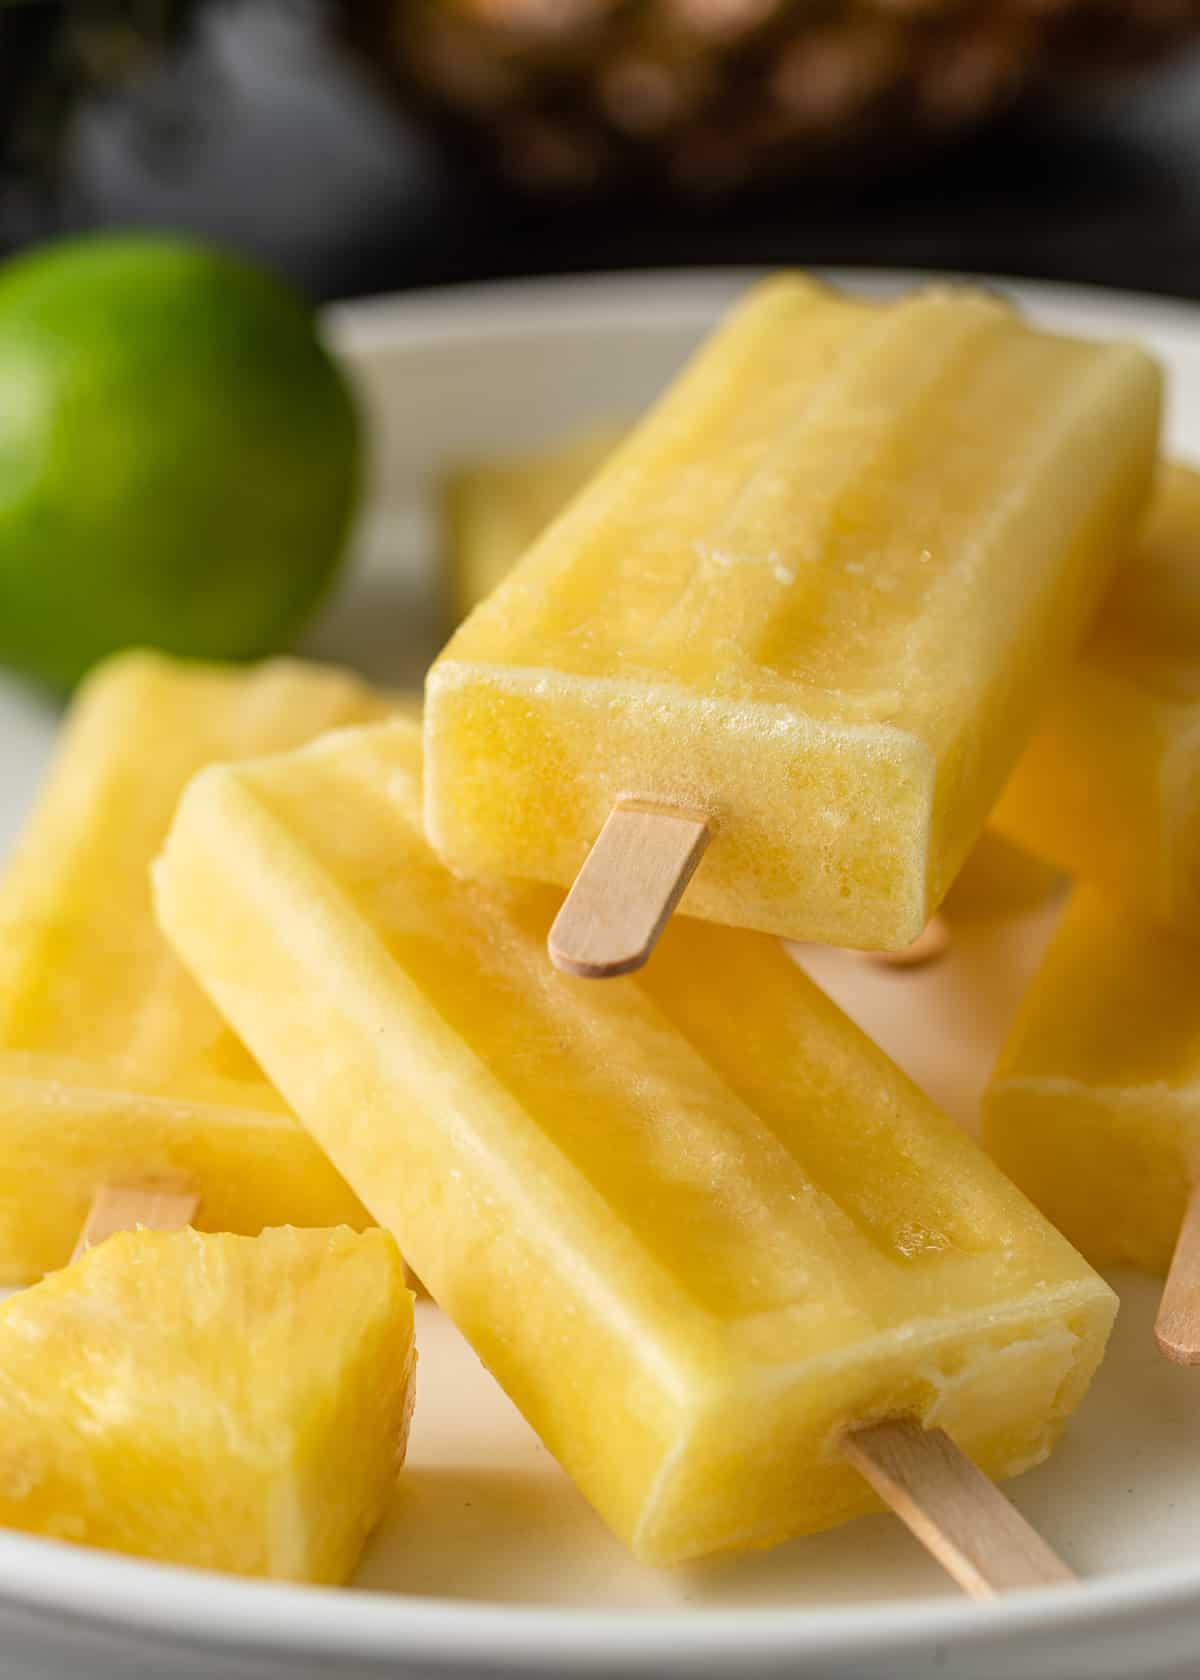
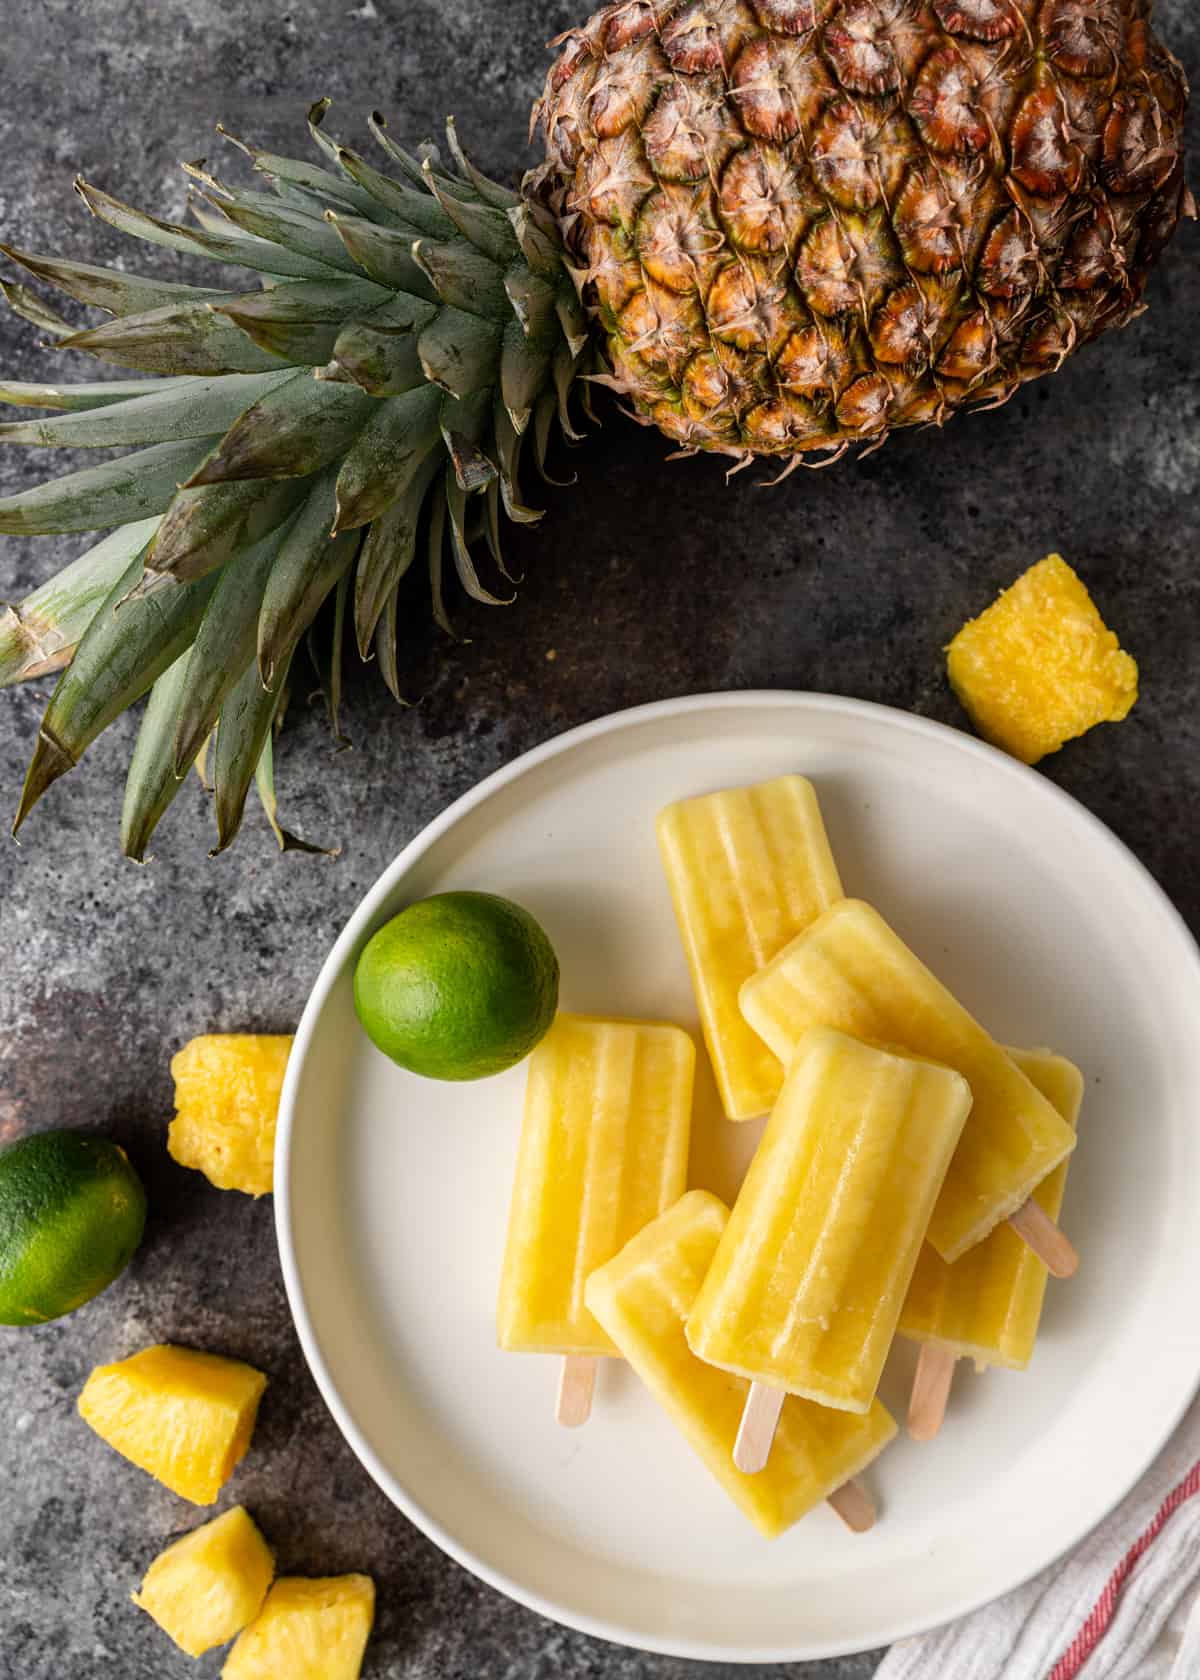
Pineapple Ice Pops (Paletas de Piña)
This post may contain affiliate links. Please read my disclosure policy.
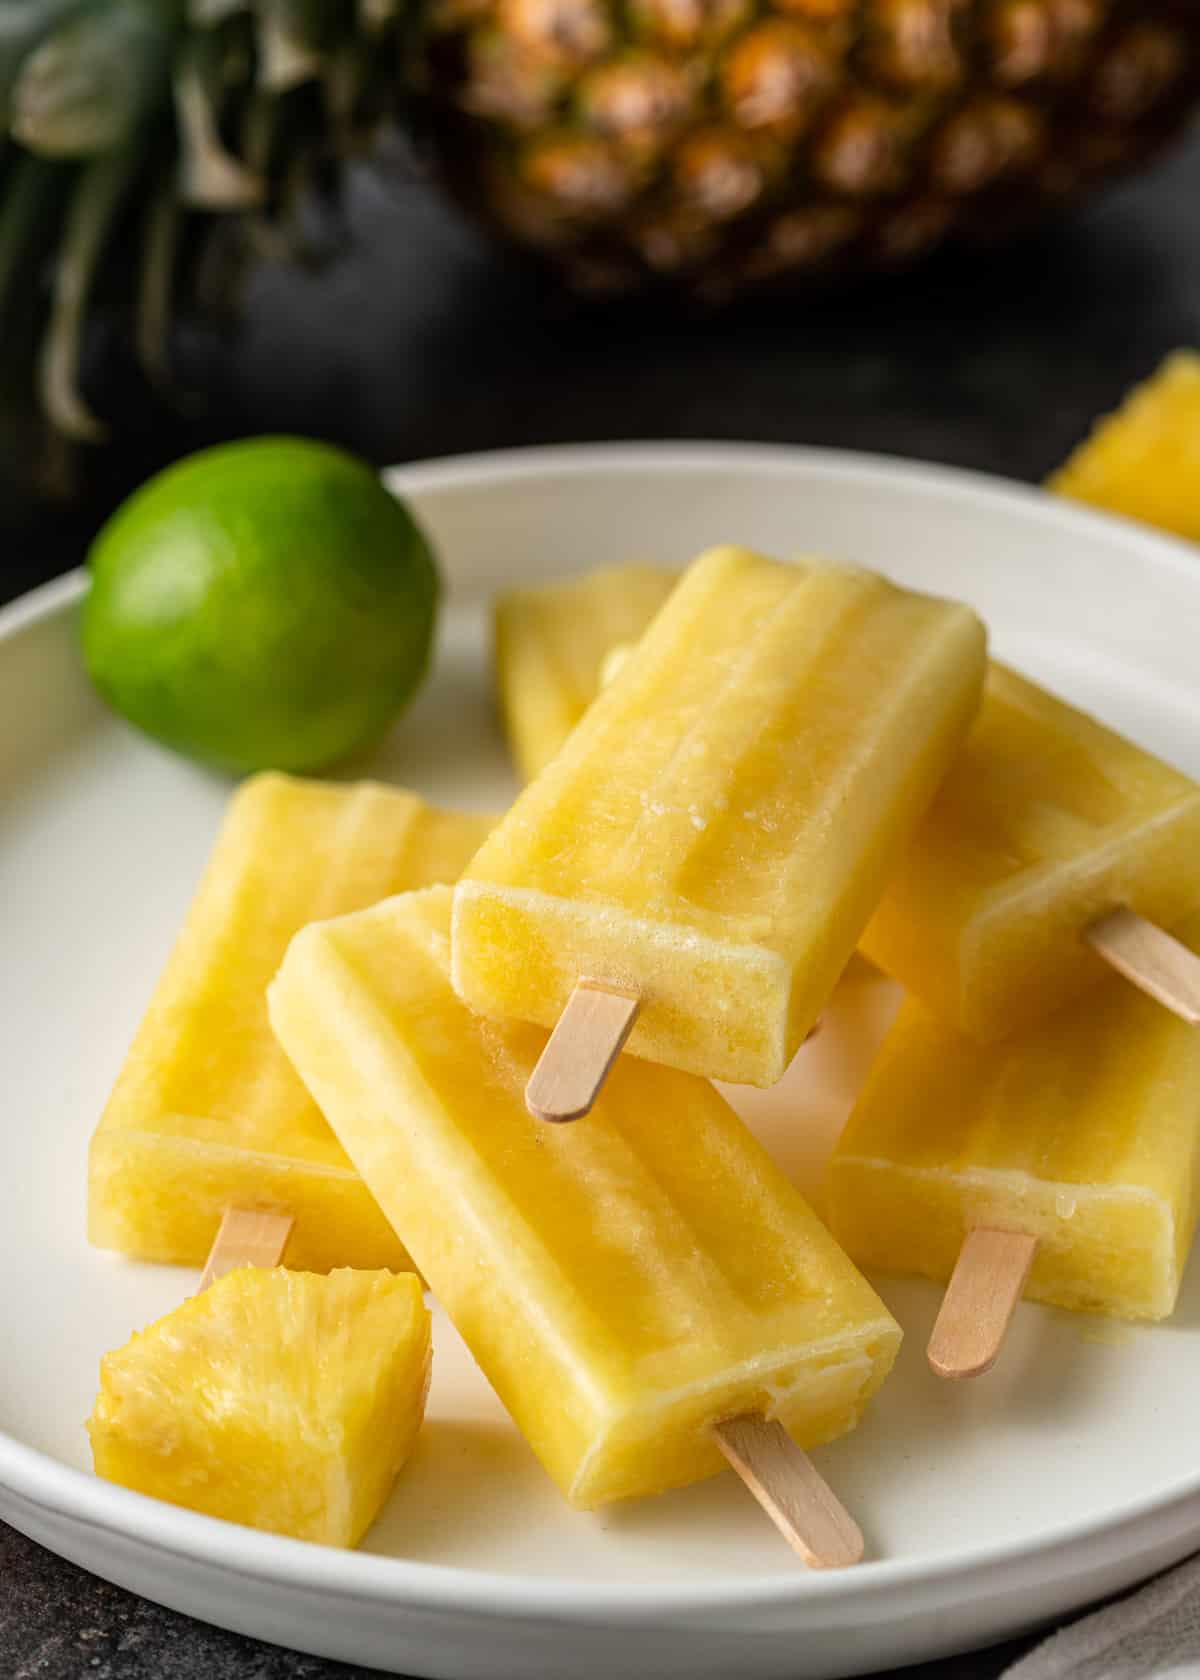
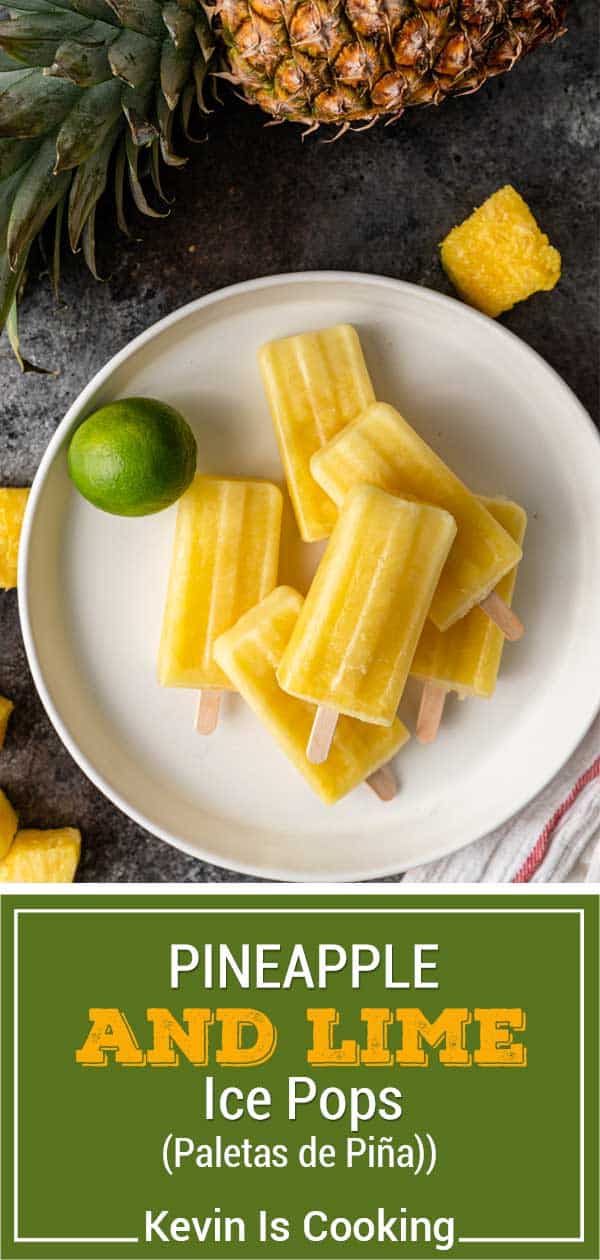
These pineapple ice pops, also known as paletas de piña, are tantalizingly tart, tangy, and sweet. This Mexican-inspired popsicle recipe is easy to make, requiring only fresh pineapple, simple syrup, and a dash of lime zest.
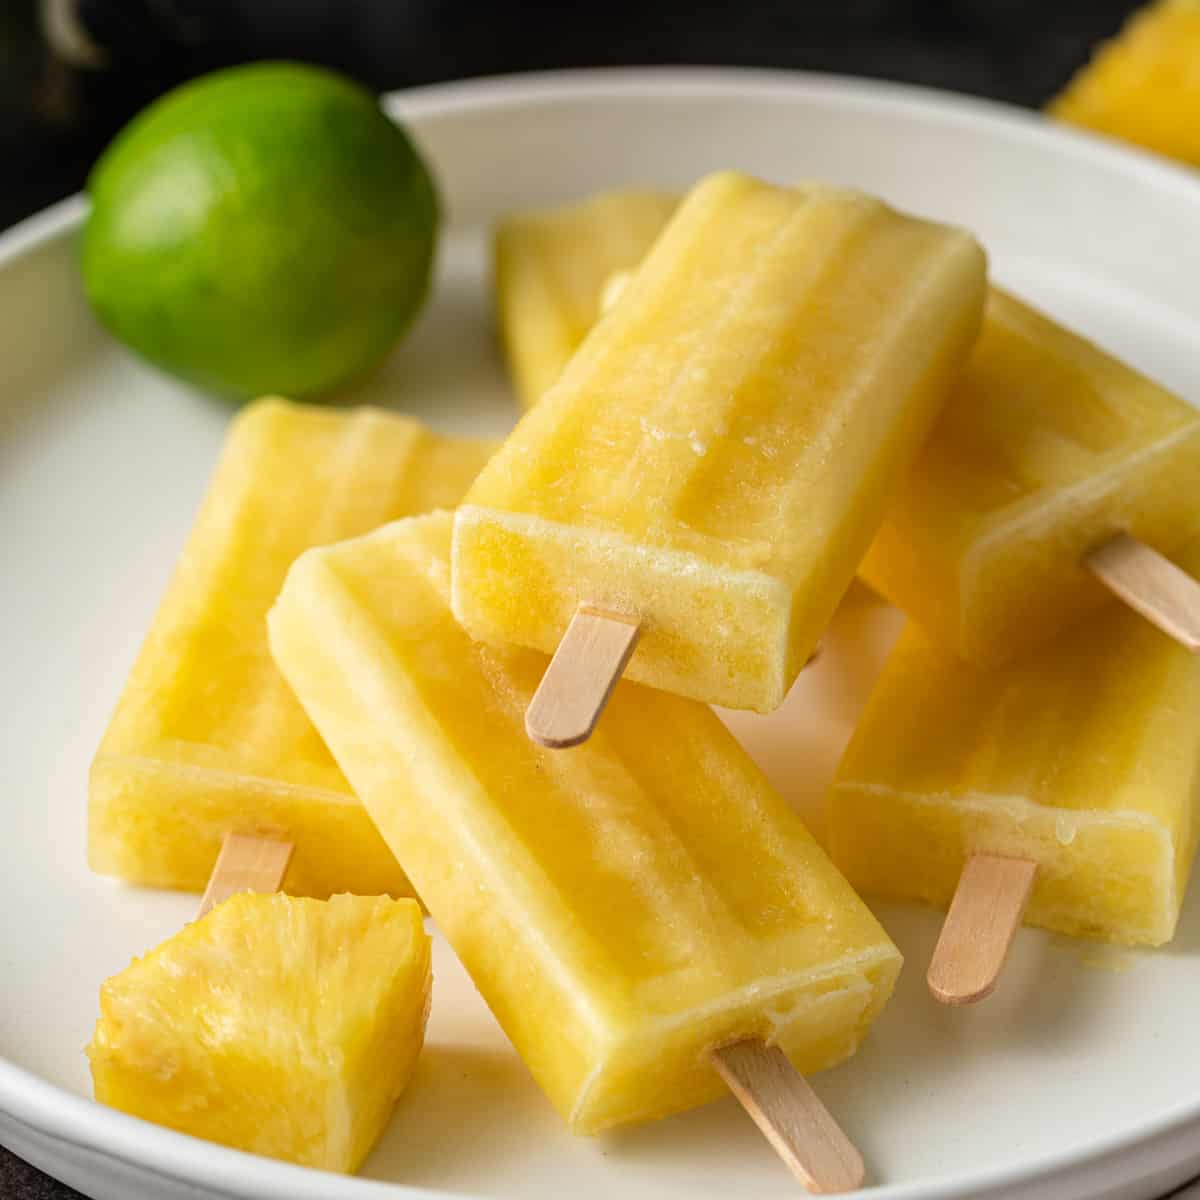
Beat the heat with this tasty tropical pineapple ice pops recipe! They’re made with an abundance of fresh, ripe fruit plus a simple syrup and a bit of zest. The resulting popsicles are softer, healthier, and bursting with a more fresh, fruity flavor.
Try these pineapple ice pops once and you’ll never want the store-bought version again. Toss in a bit of coconut if you are feeling adventurous! Speaking of paletas, I hope you give my Mango Chile Ice Pops (Paletas de Mango con Chile) or these Strawberries and Cream Ice Pops (Paletas de Fresas y Crema) a try too.
Table of Contents
If you end up with extra pineapple on your hands, check out my recipes for Pineapple Cashew Coffee Cake, Roasted Cranberries with Pineapple, or this Grilled Pineapple Salmon for a tropical entree.
INGREDIENT NOTES AND SUBSTITUTIONS
- Pineapple – This juicy tropical treasure is uniquely sweet and tart at the same time. I strongly recommend sticking with fresh fruit for authentic paletas.
- Sugar – Adds sweetness and softens the texture of the finished pineapple ice pops.
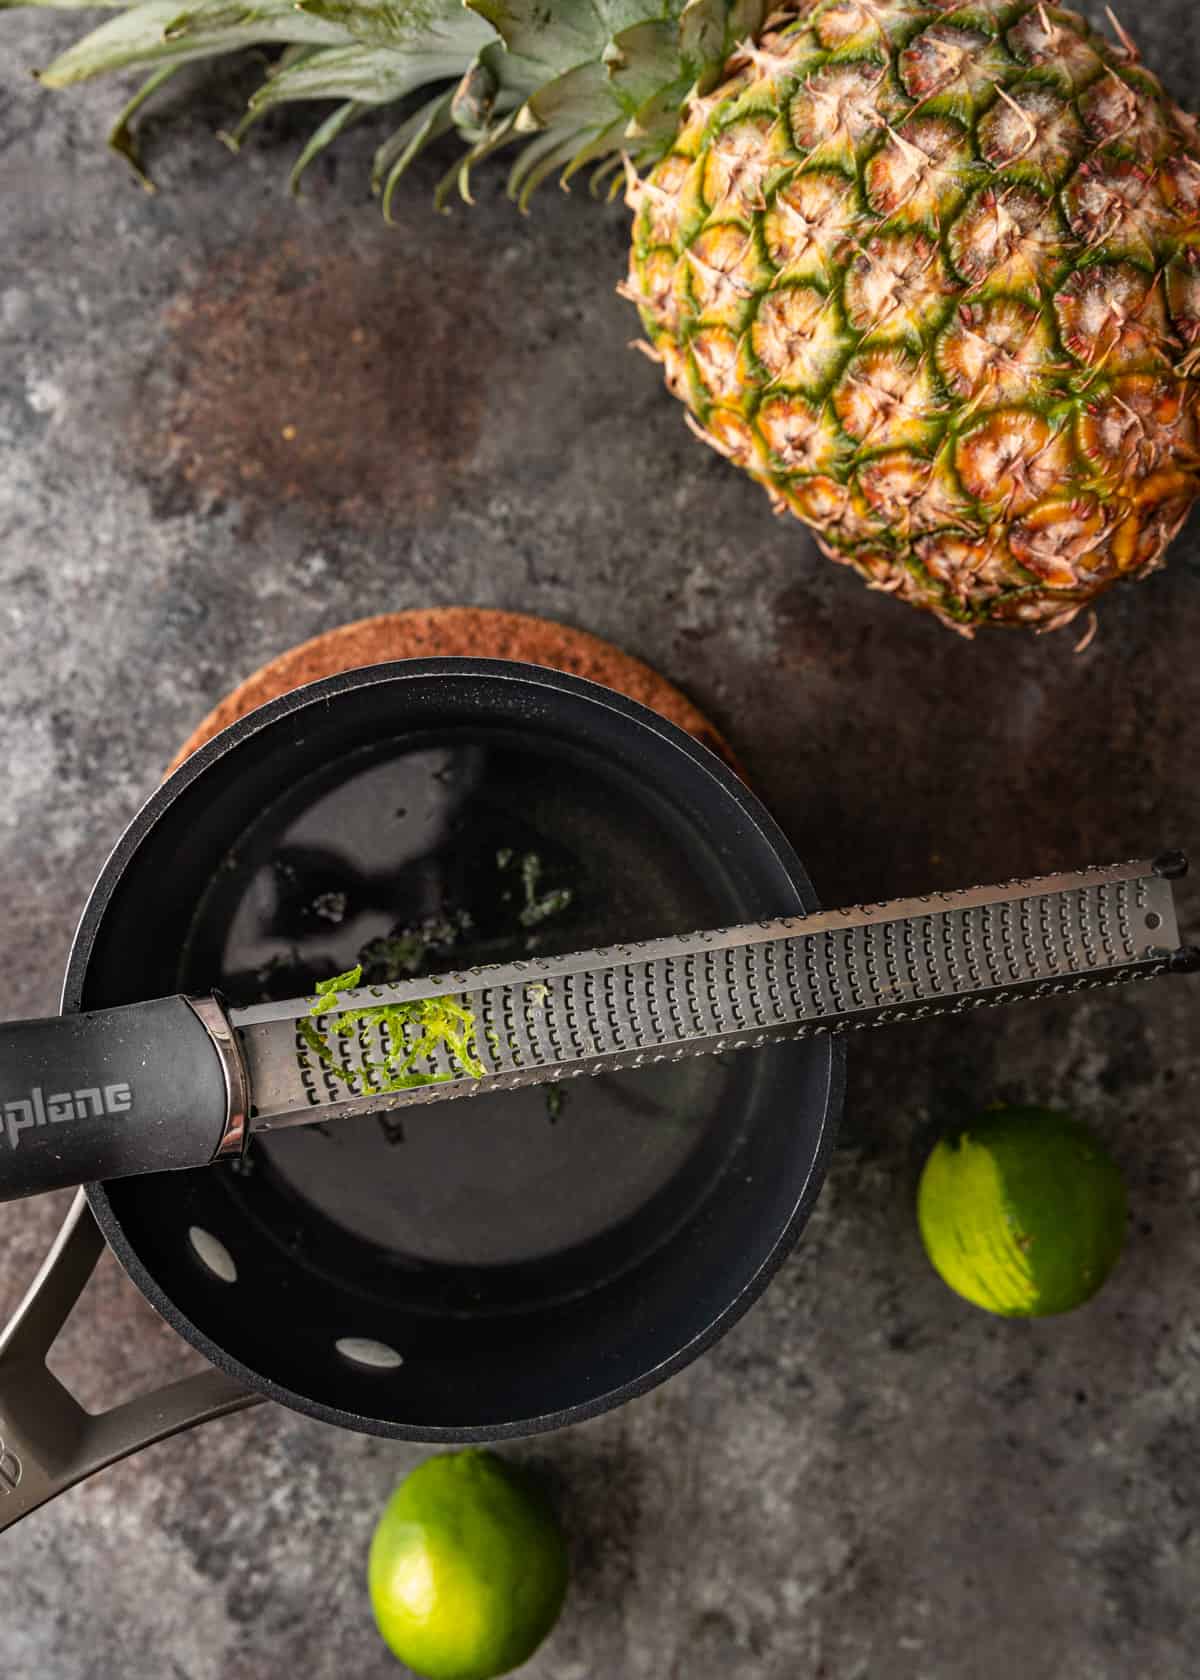
- Lime Zest – Cuts through the sweetness with a zesty blast of bright citrus flavor.
HOW TO MAKE PINEAPPLE ICE POPS
1. Dice the Pineapple. Separate one cup of the pineapple, dice it into very small pieces, and set aside.
2. Make Syrup. Use a saucepan to bring one cup of water and the sugar to a boil. Stir the mixture until the sugar dissolves. Remove the pan from heat, add the lime zest, and set aside. Allow 10 minutes for the zest to steep as the liquid cools.
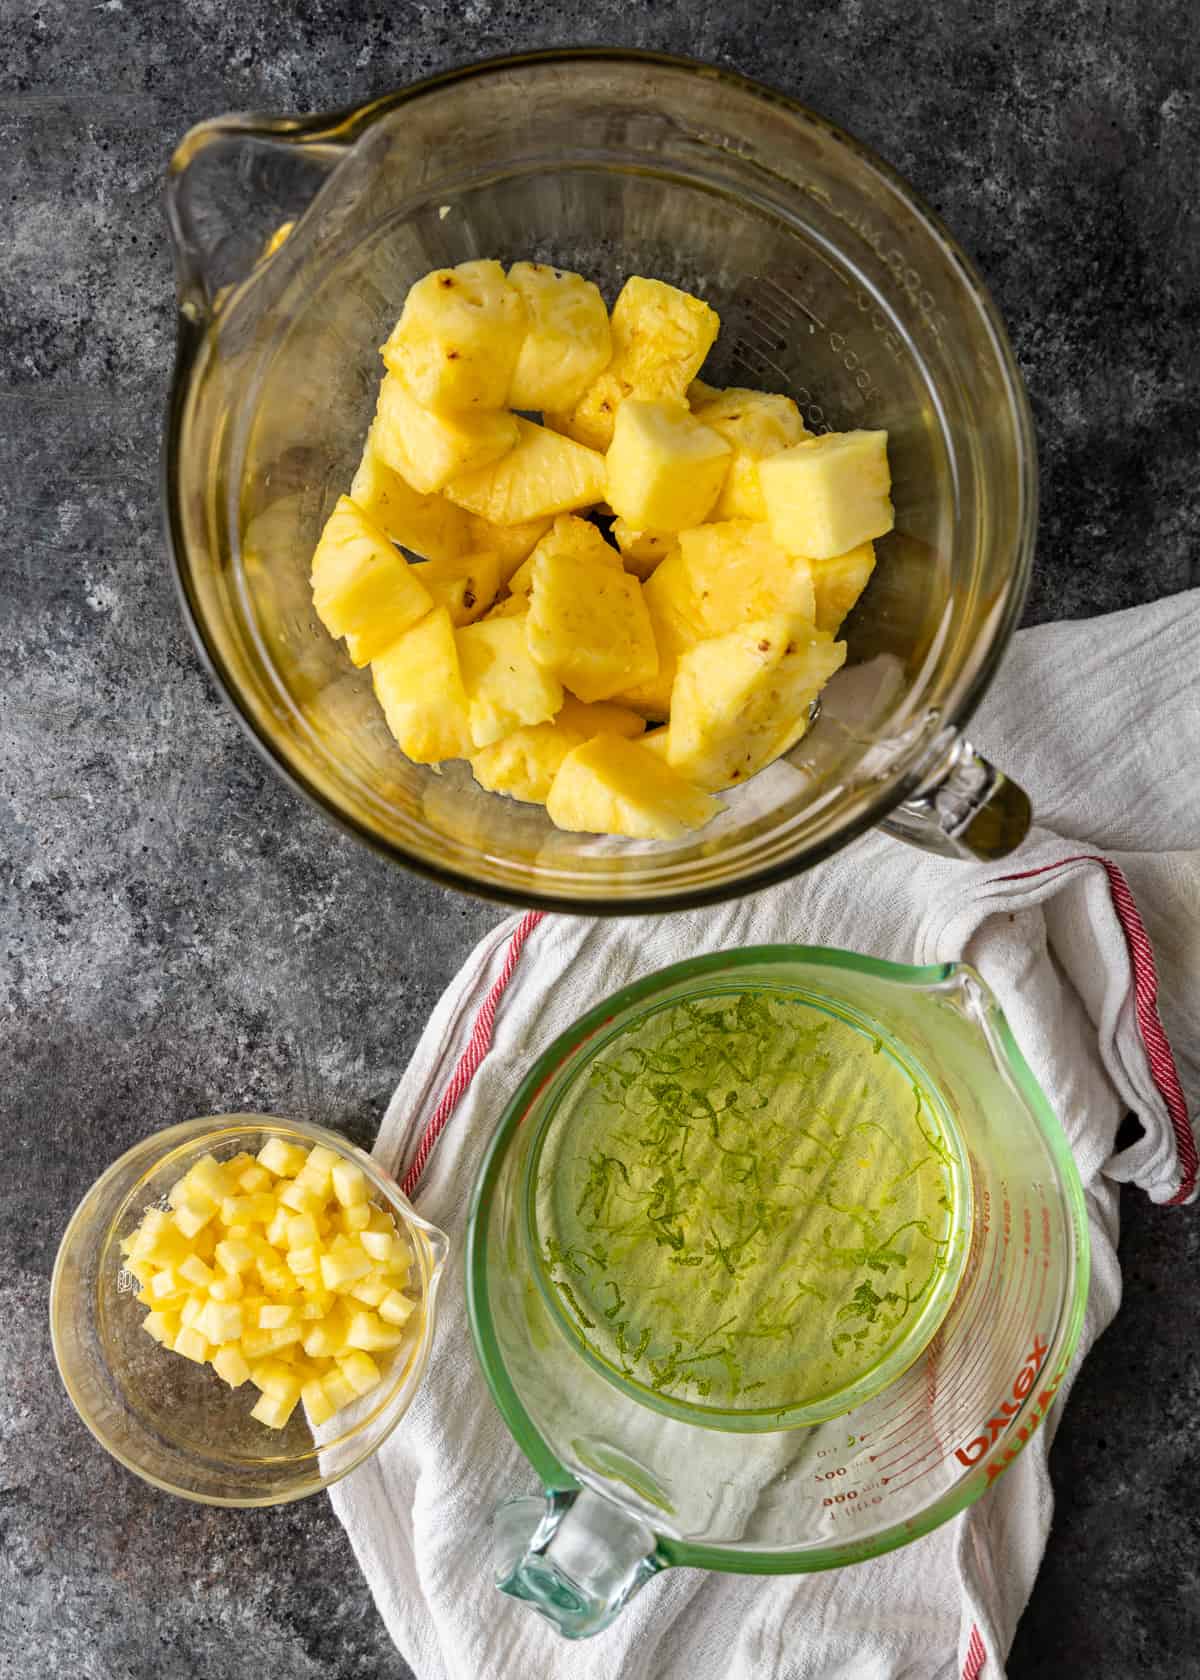
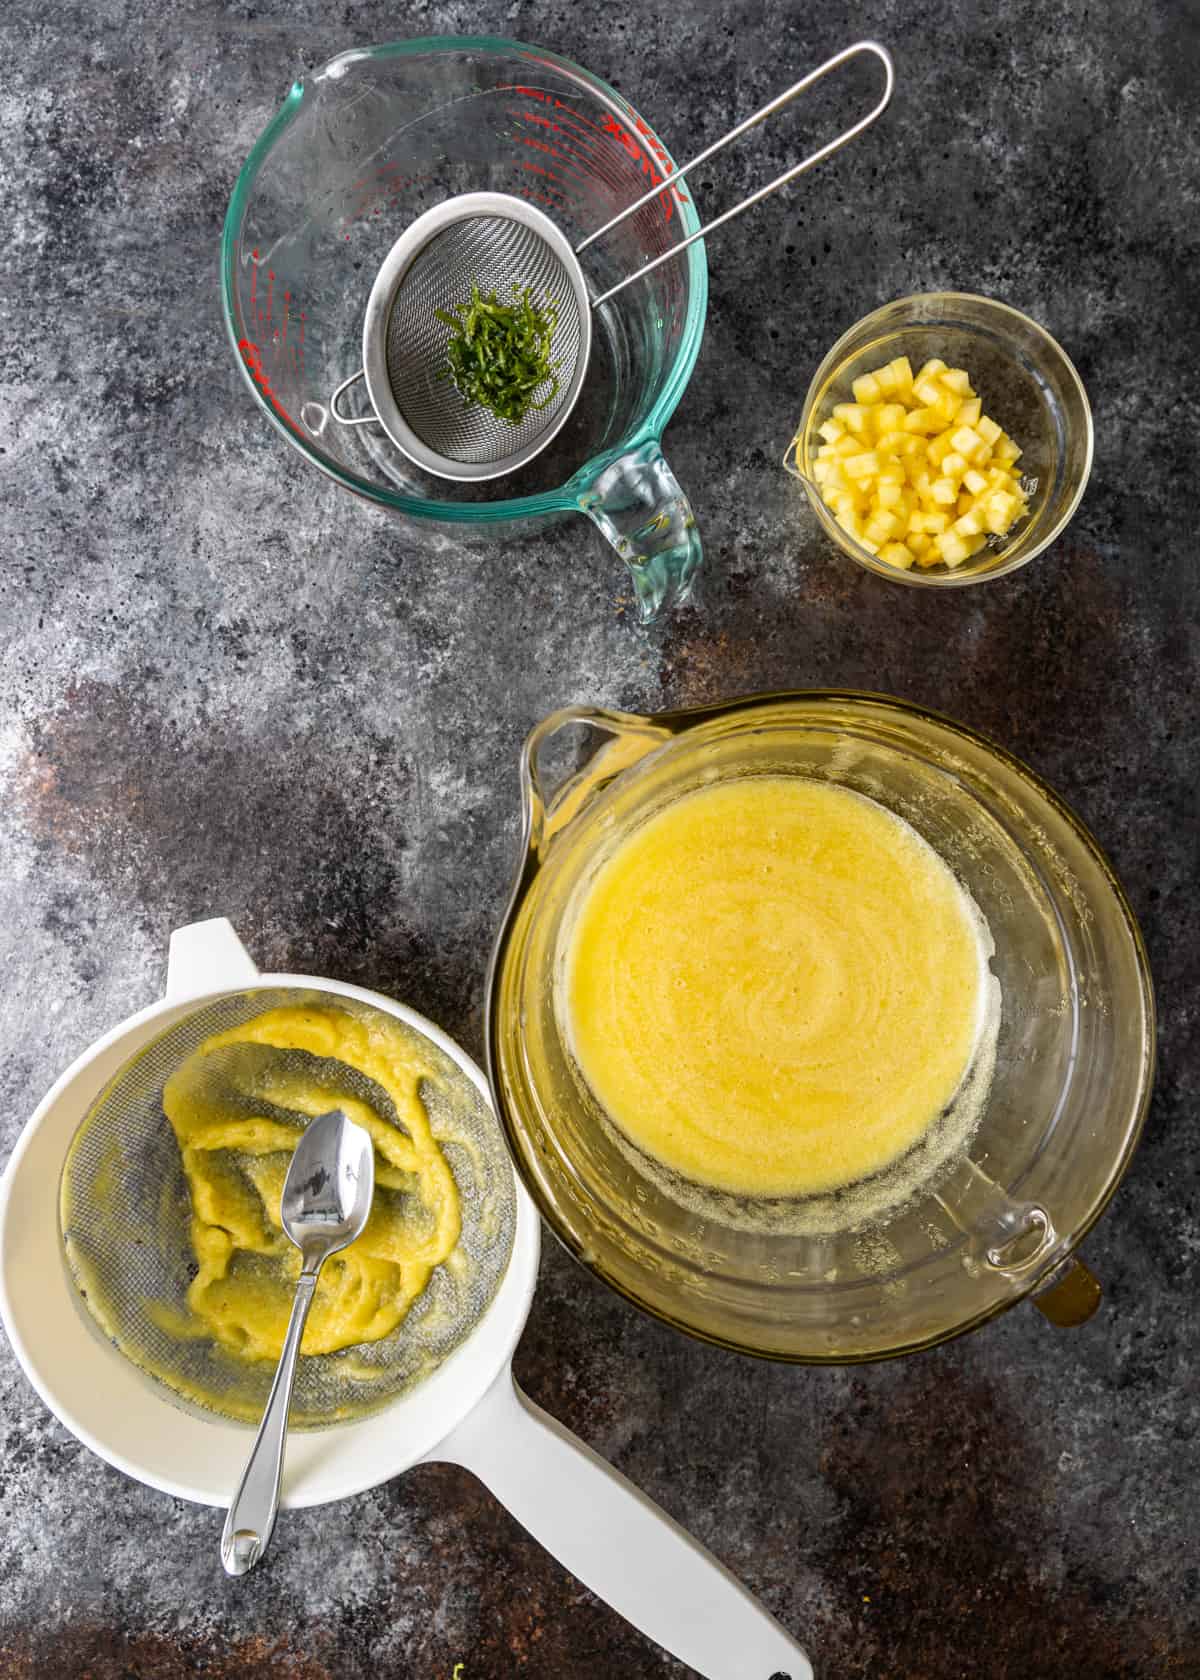
3. Add to Blender. Strain out the lime zest and transfer the lime syrup to a blender. Add in the remaining 4 cups of pineapple chunks and puree until smooth. If desired, strain the mixture through a sieve, or skip this step and simply transfer the puree to a bowl. Add the 1 cup of diced pineapple to the blended mixture and stir to incorporate. Place the bowl in the refrigerator until chilled.
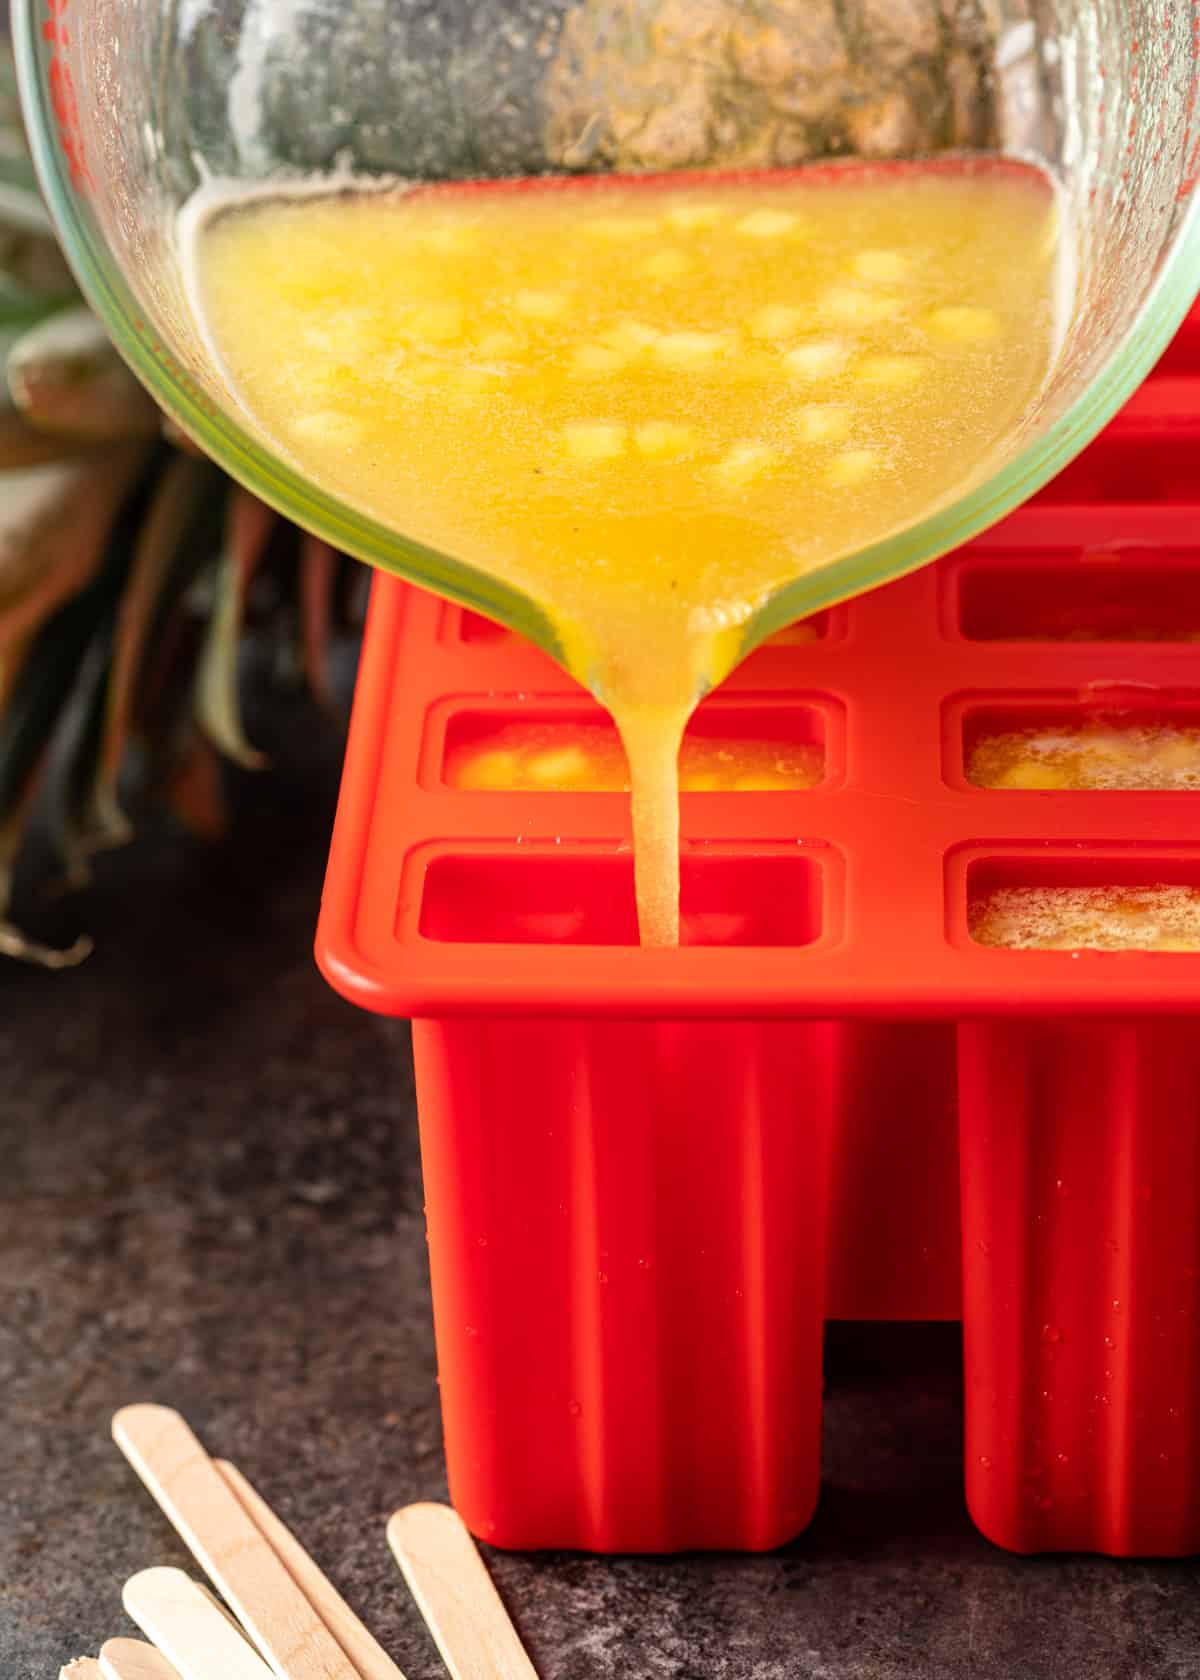
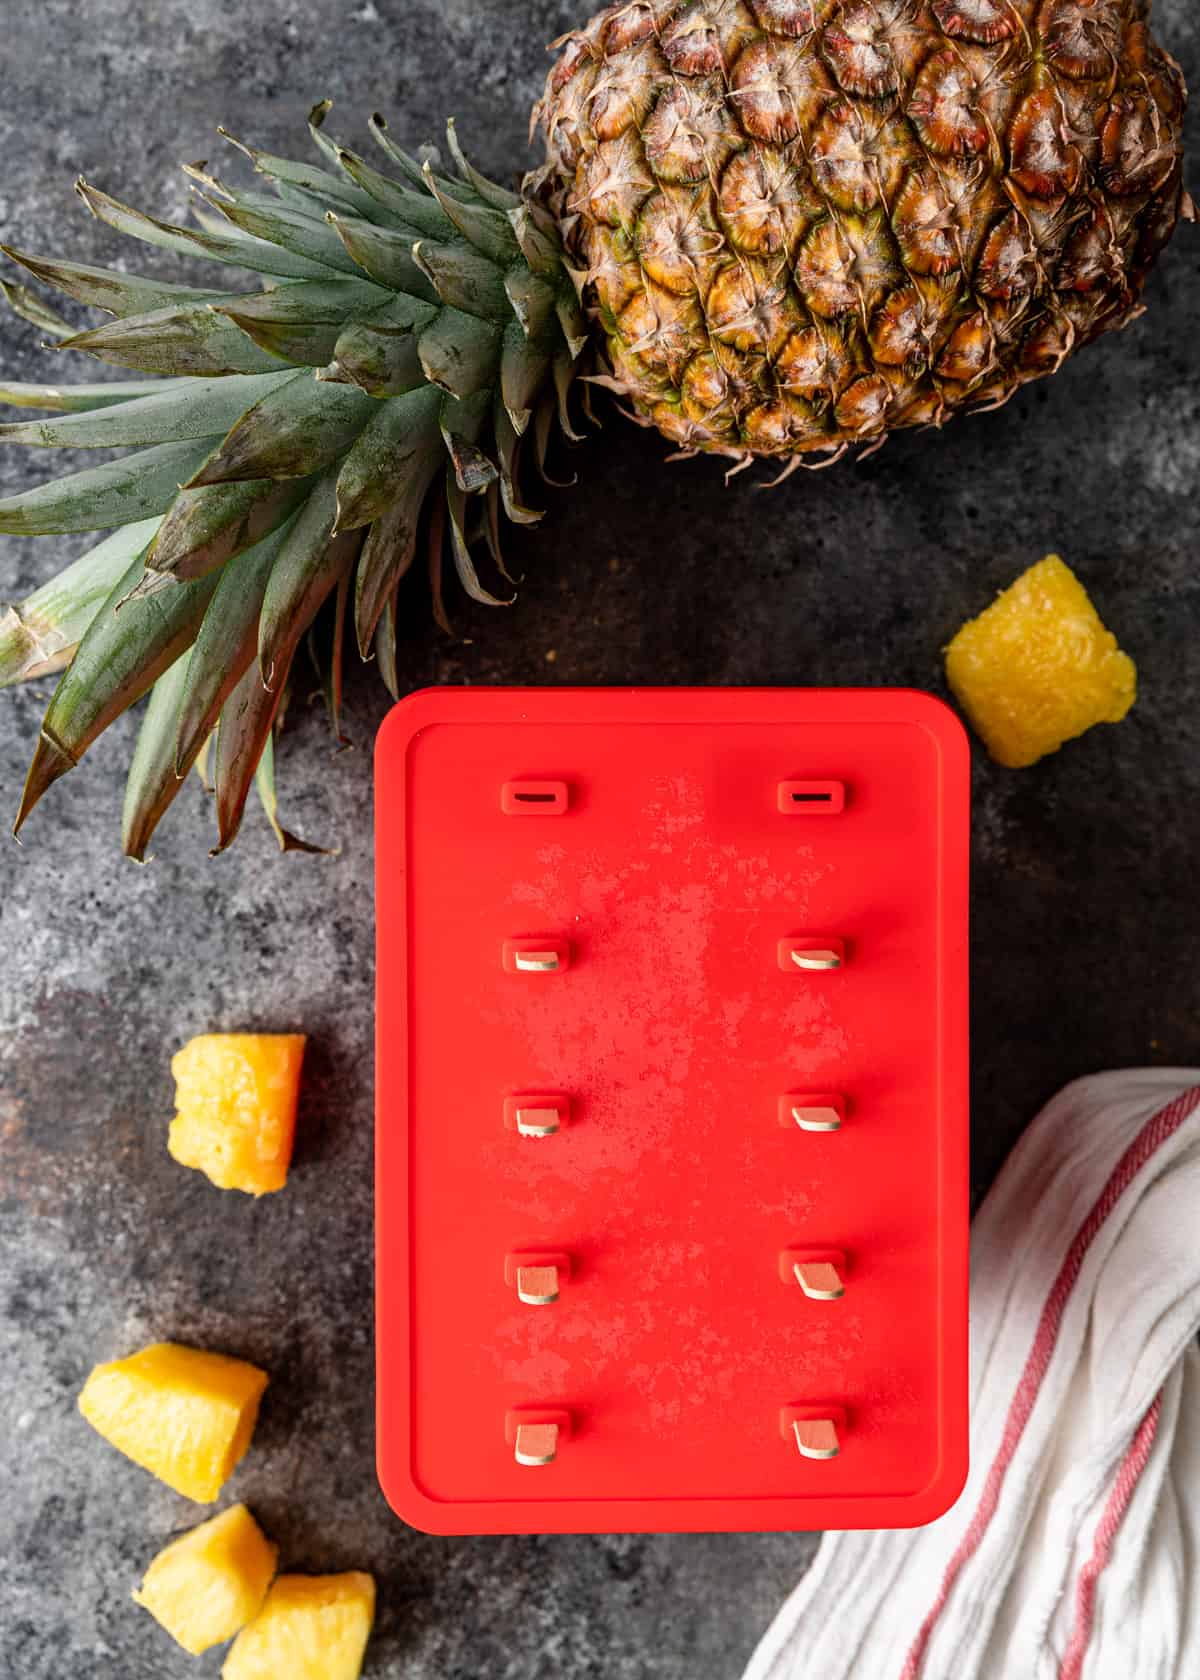
4. Pour Into Molds. Carefully transfer the chilled pineapple mix into eight (3-ounce) popsicle molds. Cover with the lid and insert wooden sticks or popsicle handles from your mold kit. Place the molds in the freezer for at least 3 hours.

5. Troubleshoot the Sticks. If you don’t have a mold kit that will keep your sticks in place from the start, there is a solution. Simply freeze for 1-2 hours, or until the pops are slushy. Add the popsicle sticks, then return the molds to the freezer to finish hardening for another 1-2 hours.
6. Release From Molds. Once your pops are ready to enjoy, you can help release them with a few seconds of warm water on the bottom of the molds.
How Can You Tell If A Fresh Pineapple is Ripe?
Since these pineapple ice pops are made almost completely of fresh pineapple, it is important to choose the best fruit possible. To pick a pineapple at the peak of its flavor and ripeness, pay attention to these key factors:
- Color – Look for a pineapple that is golden to green from the top to bottom. The leaves should be green and fresh. If it is brown or orange, it is too ripe.
- Smell – A ripe pineapple will smell sweet, fragrant, and fruity. If it smells fermented or “off” in any way, choose another.
- Feel – You want the fruit to feel firm with a little bit of give. Avoid any rock-hard or squishy pineapples.
- Leaves – The final test is to gently pull on one of the center leaves. If the leaves appear fresh and release with a gentle tug, you’ve picked a perfectly ripe pineapple.
What Is The Best Way To Cut a Pineapple?
This recipe for pineapple ice pops is incredibly simple. However, cutting up a fresh pineapple can often seem like a daunting task. It doesn’t need to be, though, and these simple steps will help you master the process in no time.
- Prepare Your Area. Choose a clean area that you don’t mind getting wet and a bit sticky, along with a large cutting board and a sharp knife.
- Remove Ends & Skin. Place the pineapple on its side and hold it in place with one hand. Use the other hand to cut about ½” off the top and bottom. Securely set the pineapple upright again. Carefully remove the skin by slicing about ¼” in from the rind. Follow the curvature of the fruit around until all the skin is gone.
- Make Slices or Spears. At this point, you can either lay the pineapple on its side and slice it into circular rings or keep it upright and cut it into spears.
- Remove the Core. Remove the tough inner core with a small knife. With the core bits removed, cut the pineapple into the chunks needed for paletas de piña.
Can I Double This Pineapple Ice Pops Recipe?
Absolutely! Just make sure to keep the sugar-to-fruit ratios the same as you increase. Proper sugar content is important in getting the smoothest texture in my paletas de piña.
Subscribe to my Newsletter, follow me on Facebook, Pinterest, Instagram and YouTube for all my latest recipes and videos.

Pineapple Ice Pops (Paletas de Piña)
Equipment
Instructions
- Dice 1 cup of the pineapple into very small pieces, set aide.
- Bring sugar and 1 cup water to a boil in a saucepan, stirring until sugar dissolves. Take off heat and add lime zest. Let steep for 10 minutes and liquid cools.
- Strain lime syrup into blender (discard lime zest) with remaining 4 cups cubed pineapple chunks and puree. Strain through a sieve is optional. Add the 1 cup of diced pineapple to the blended mixture and stir to incorporate. Transfer mixture to a bowl and refrigerate until chilled.
- Pour pineapple mixture into eight 3–ounce ice-pop molds. Top with cover and insert wooden sticks or handles that come with your ice-pop mold kit. Transfer molds to the freezer for 3 hours or more.
- If you don’t have a mold kit with a top lid that positions the wooden popsicle sticks, transfer molds to the freezer and freeze until slightly slushy, about 1 hour. Insert a popsicle stick into each mold and freeze until ice pops are solid, about 3 hours or more.
- To release ice pops from molds, run the bottom of the molds briefly under warm water and push up from bottom.
Nutrition
The information shown is an estimate provided by an online nutrition calculator. It should not be considered a substitute for a professional nutritionist’s advice.


So easy to make and the kids ate them all! Great pool day refresher. Thanks Kevin!
So glad you and the kids love these Sally. This is one of my favorite flavor combos. 🙂