Crispy Baked Chicken Wings (Master Recipe)
This post may contain affiliate links. Please read my disclosure policy.
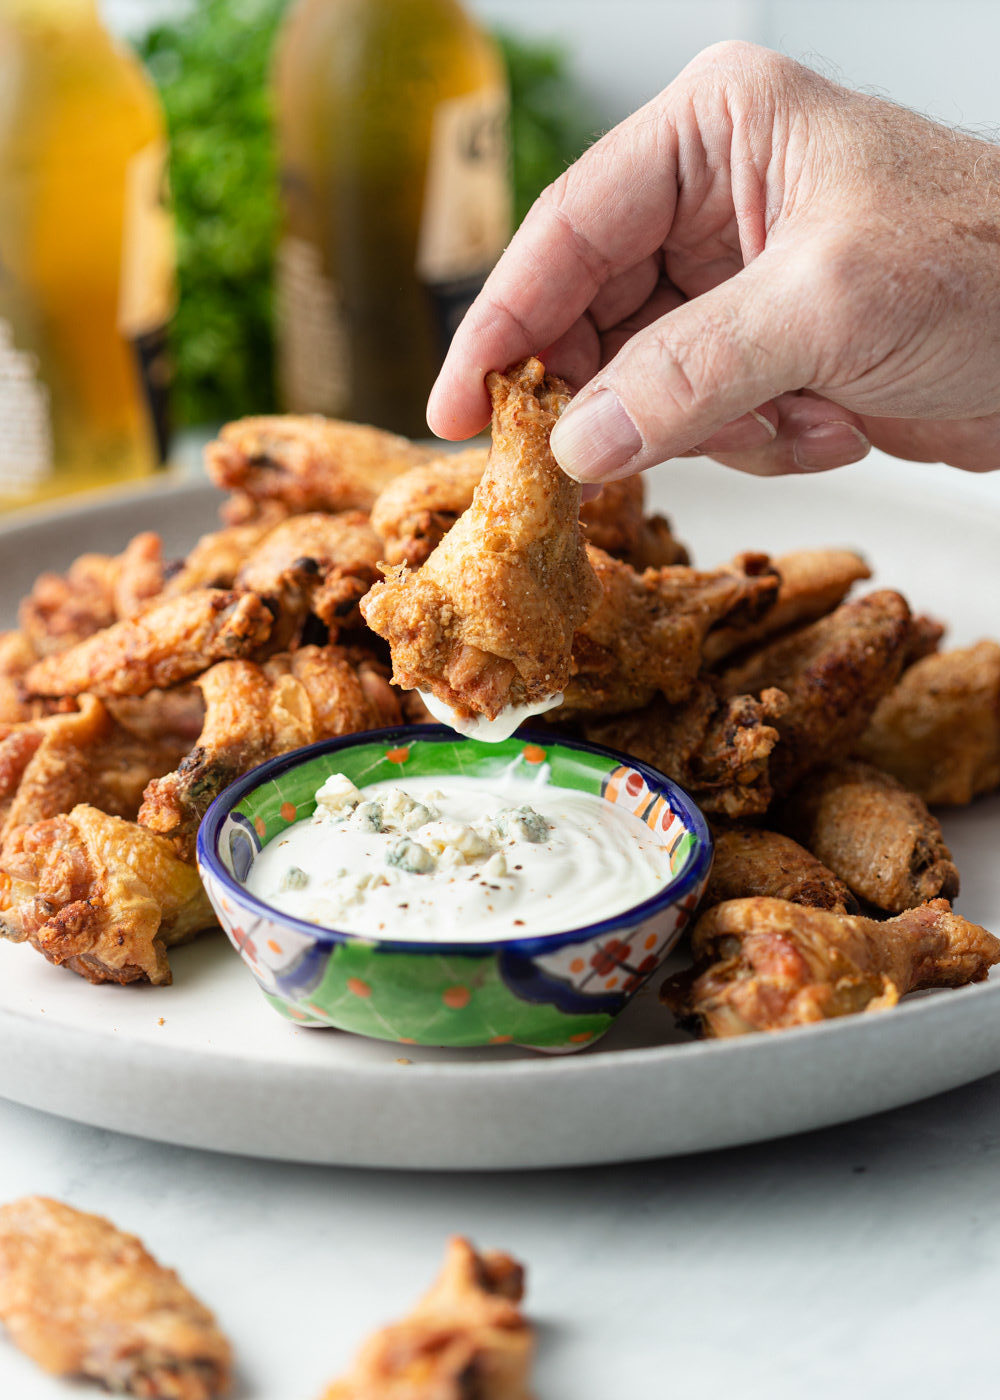
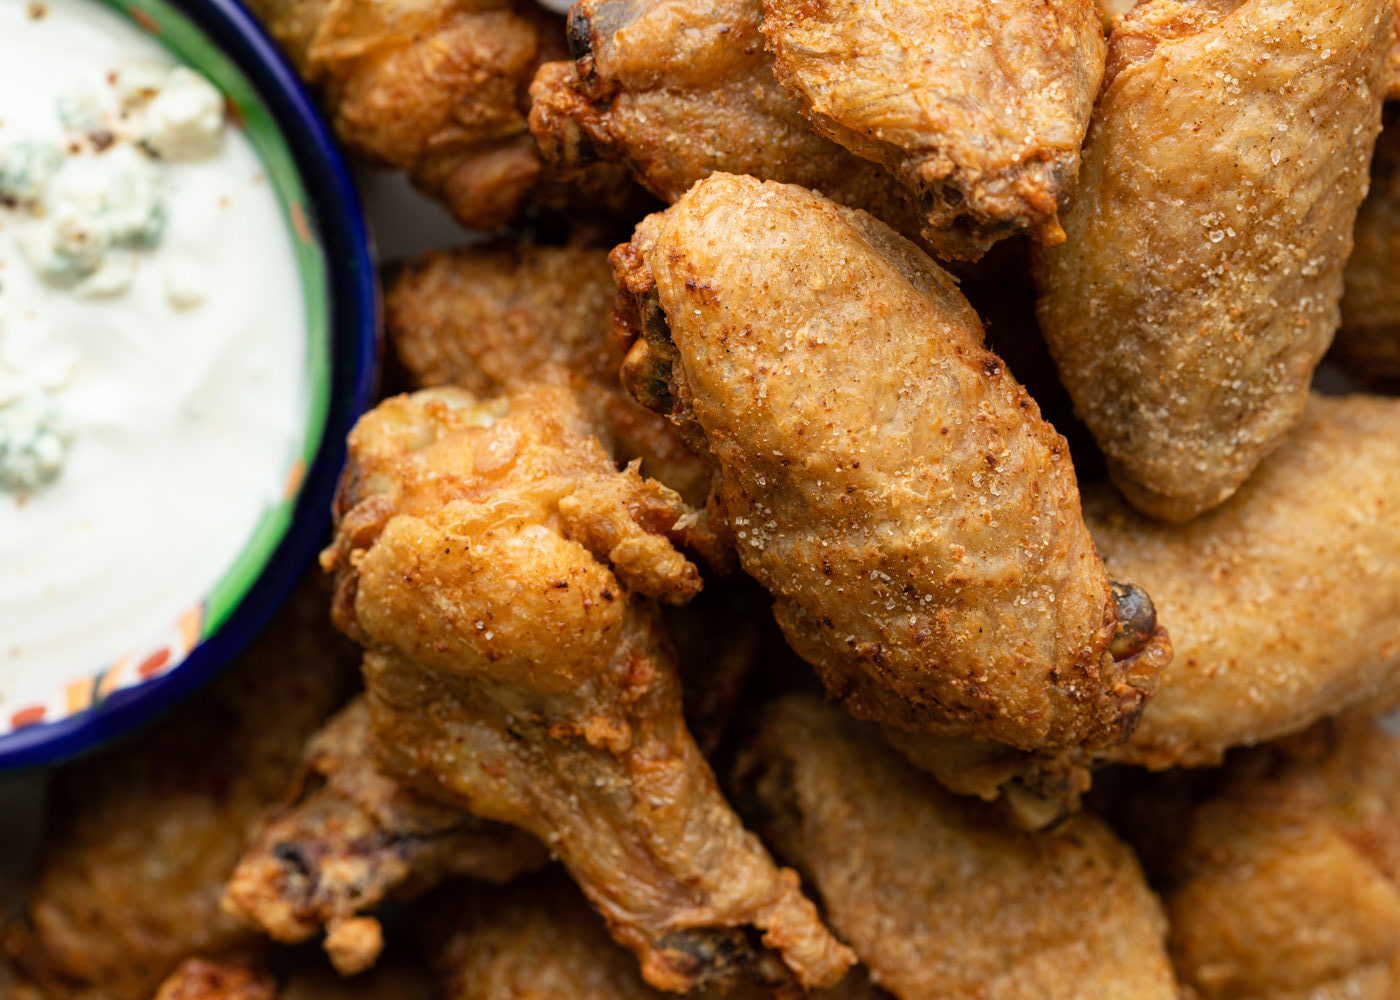
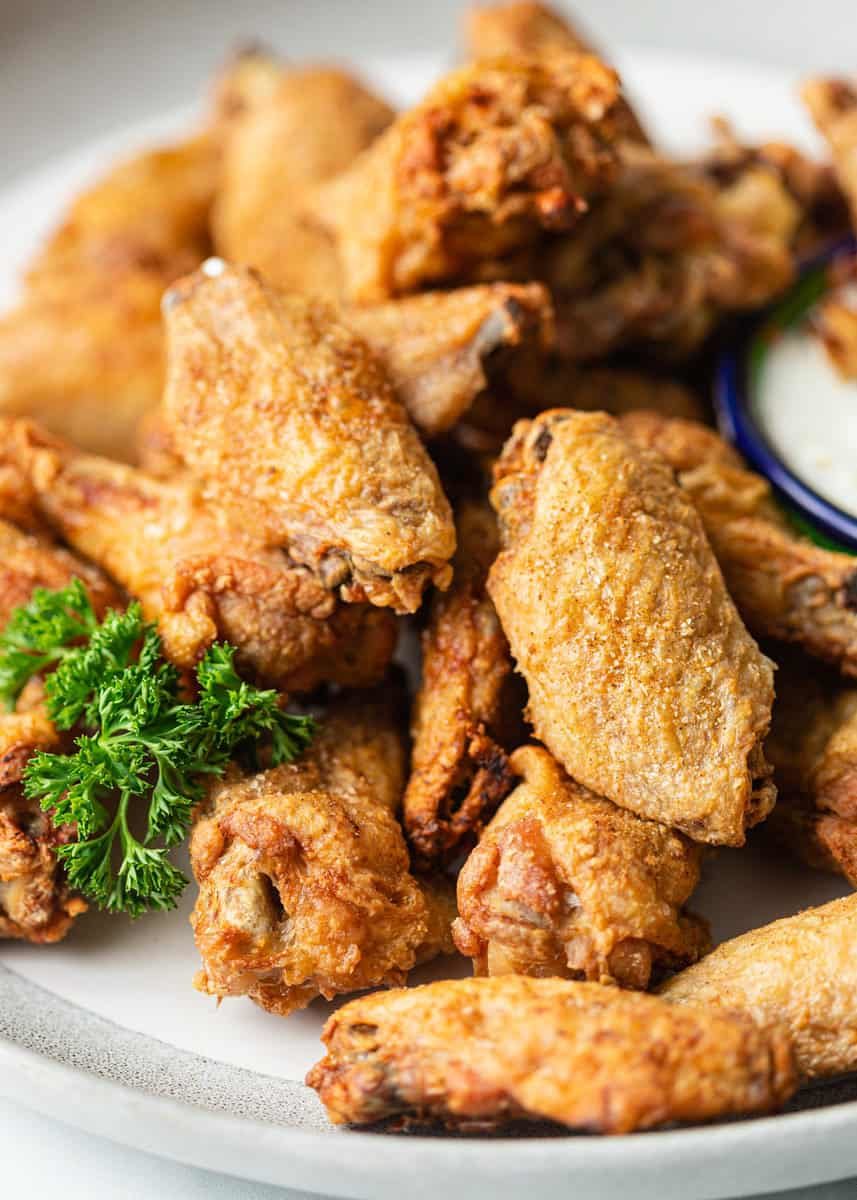
With this recipe for crispy baked chicken wings, you can make delicious, perfectly crispy and juicy wings, without the mess of frying!

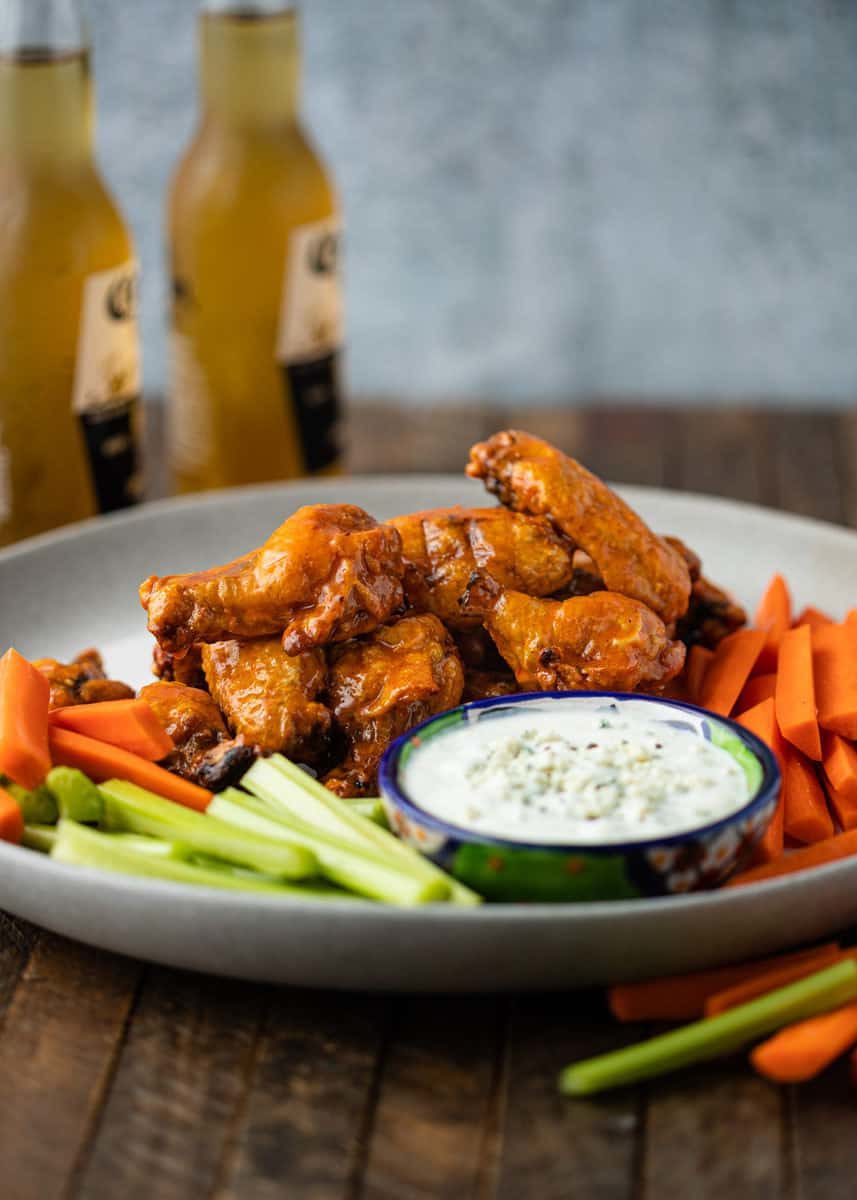
Buffalo wings are a popular game day snack, but they’re so messy to make, Even worse, deep frying isn’t the healthiest choice. But I have good news!
This baked chicken wings recipe will help you make them without a greasy kitchen to clean up.
Another great way to prepare them is on a smoker, like these honey garlic smoked chicken wings.
Video: Making crispy baked chicken wings
To see the recipe made from start to finish, be sure to watch the video located in the recipe card at the bottom of this post!
Buying and prepping the chicken
The first order of business is to shop for the chicken. You’ll want to plan on an average of one pound of bone-in wings per person.
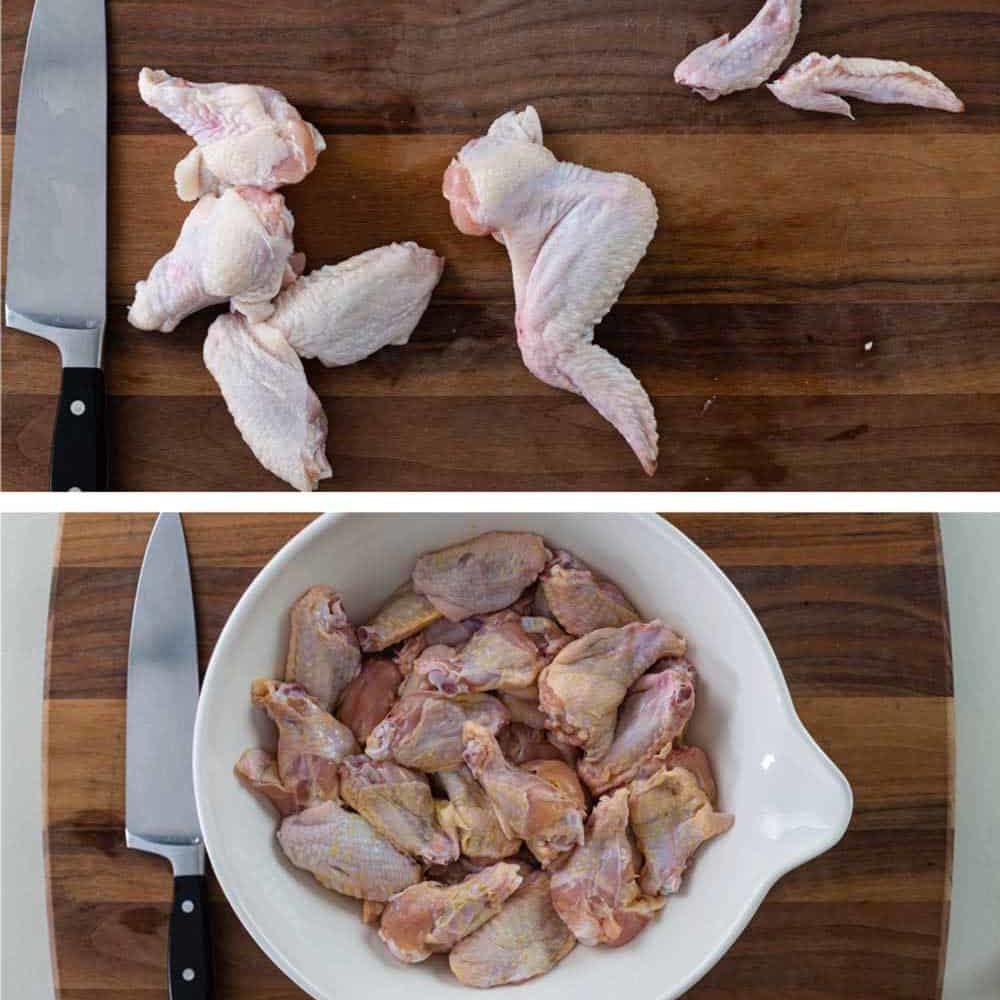
Wings are available whole, with the tips intact, or cut, with tips removed. If you can only find them whole, it isn’t a problem. Just use a sharp knife to cut them at the joint and remove the tips.
Cut again to separate the drumstick from the middle flat piece. (See video for detailed instructions).
Baking chicken wings
- Preheat your oven. Heat oven to 250°F with racks in upper and lower positions.
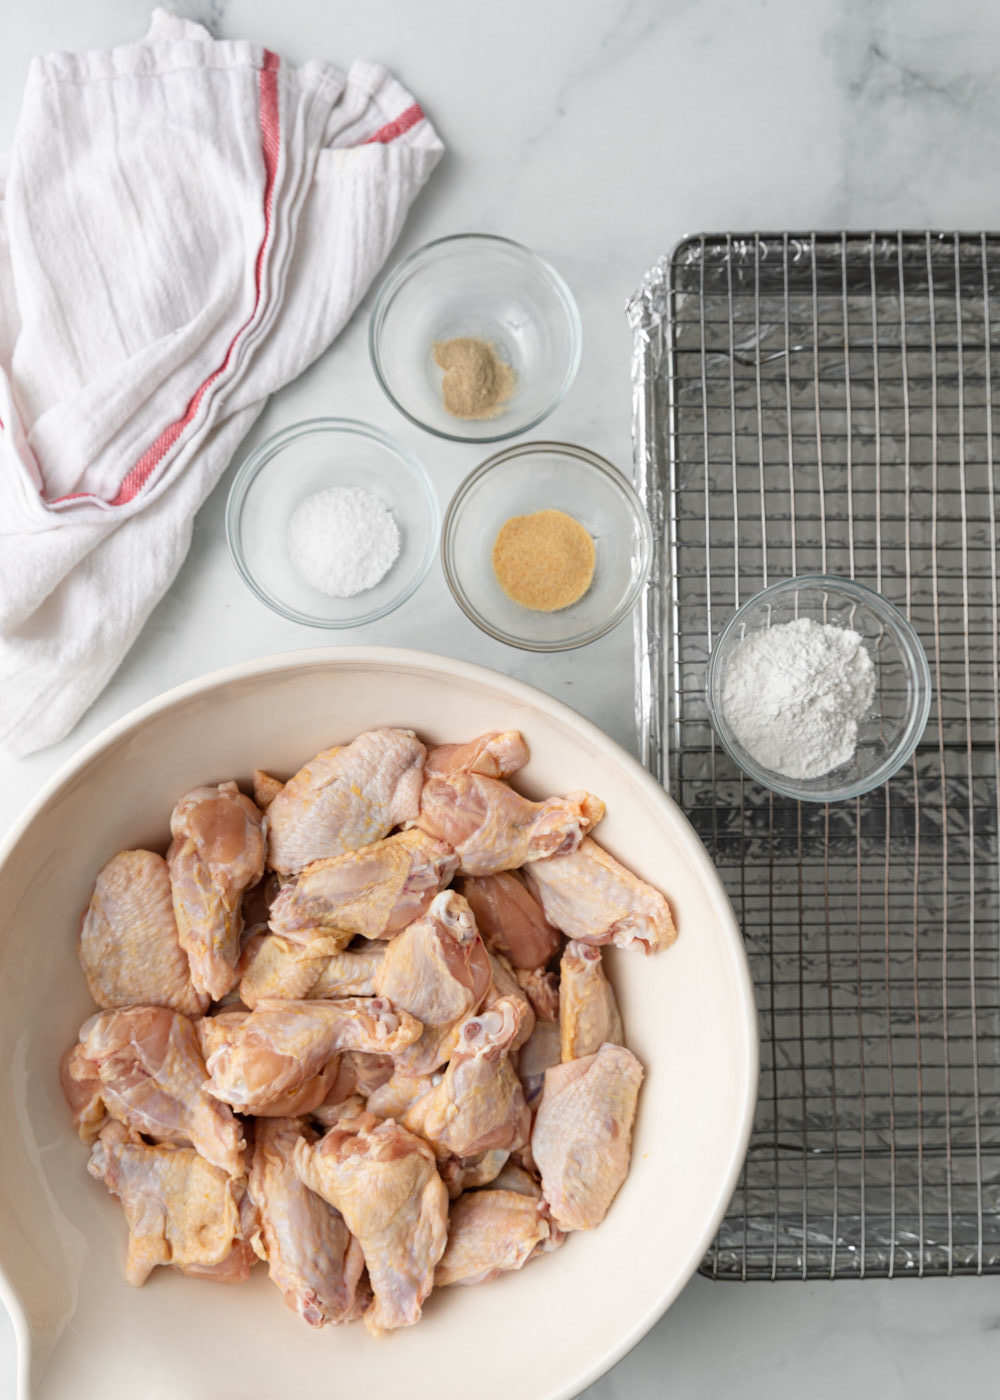
- Mix the spices. In a small bowl, whisk together the baking powder, kosher salt, garlic powder and white pepper.
- Remove excess moisture from the wings. Use paper toweling to dry off the wings. This will remove any moisture that could prevent them from becoming crispy.
- Coat chicken with spices. Place the chicken wings into a large bowl or zip top plastic bag. Add the baking powder/spice mixture and stir to coat, or close and shake the bag to coat the pieces.
- Arrange on pan and bake. Set a wire baking rack on top of a baking sheet and spray the rack with non-stick cooking spray. Then, arrange the chicken wing pieces skin side up in a single layer on the rack. Transfer them to the oven.
How long to bake chicken wings at 425°F
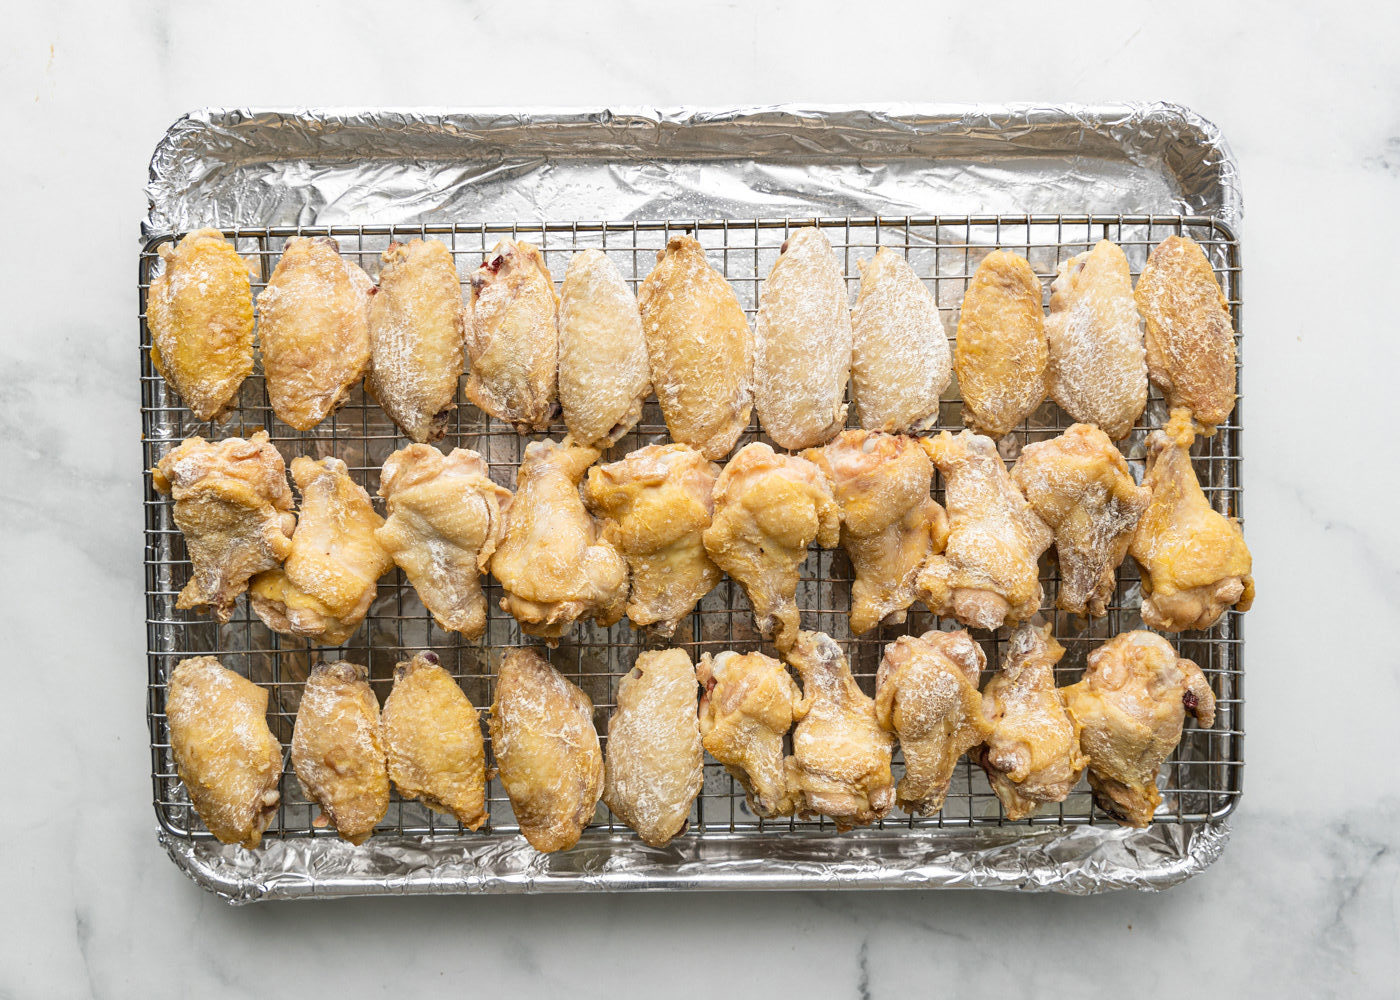
- Bake chicken at 250°F. on lower rack for 30 minutes. This slowly renders the fat UNDER the skin.
Refer to the photo below. This is after baking chicken wings at 250°F for 30 minutes. The skin is slowly rendering fat and drying out for that crispy, crunchy exterior!
The baking powder assists in drawing moisture from the skin. This is a tip I picked up from America’s Test Kitchen and it works wonderfully to get extra crispy skin without frying!
- Move pan of wings to the upper rack, increasing the temperature to 425°F.
Bake chicken wings at 425°F for 45-50 minutes, rotating sheet pan if necessary for even golden brown crispiness. - Remove pan from oven and let the baked chicken wings rest for 5 minutes. Season with your favorite seasoning salt if you like, or serve with sauce of choice.
TIP: For EXTRA crispy wings (do this the night before):
- Line a rimmed baking sheet with aluminum foil. Then, set a wire rack on top of the baking sheet.
- Arrange the wing pieces onto the rack.
- Place the rack, uncovered, for at least 8 hours. Then, before baking, remove from fridge and allow it to come to room temperature.
FAQ
Yes, but let thaw them completely before preparing them. Putting them into a refrigerator overnight works well.
They’re fantastic as is, or lightly seasoned with celery salt or seasoning salt. Wings are also delicious tossed in Buffalo wing sauce with a side of blue cheese dip or ranch salad dressing.
Let refrigerated leftover wings come to room temperature, about 15 minutes. Preheat the oven to 350°F and grease a baking sheet with oil or non-stick spray. Arrange the wings on the sheet, about 1-inch apart. Reheat wings for 5-6 minutes.
Enjoy!
Subscribe to my Newsletter, follow me on Facebook, Pinterest, Instagram and YouTube for all my latest recipes and videos.

Crispy Baked Chicken Wings + Video
Ingredients
- 4 lbs chicken wings (See Note 1)
- 5 tsp baking powder (NOT BAKING SODA and make sure it's aluminum free baking powder)
- 1 tsp salt
- 1/2 tsp garlic powder
- 1/8 tsp white pepper (optional)
- non-stick cooking spray
Instructions
- Heat oven to 250°F with racks in upper, mid and lower positions. Line a rimmed baking sheet with aluminum foil.
- In a small bowl whisk together the aluminum free baking powder, kosher salt, garlic powder and white pepper.
- Remove any moisture from chicken wings using a paper towel, patting dry all over.
- Place chicken wings in a large bowl or zipper lock plastic bag and add the baking powder/spice mixture. Stir to coat or seal bag and shake to coat evenly all over.
- Lay the chicken wing pieces in a single layer skin side up on a wire rack sprayed with cooking spray (PAM /Oil) in the prepared baking sheet.
- Bake on lower rack for 30 minutes (this slowly renders the fat UNDER the skin). Move wings to upper rack, increasing the temperature to 425°F and bake for 40-45 minutes, rotating sheet pan if necessary for even golden brown crispiness.
- Remove from oven and rest 5 minutes. Season with your favorite seasoning salt if you like or serve with sauce of choice.
Video
Notes
- If wings are already cut with tips removed (not whole) then use 3.5 pounds. Otherwise buy 4 pounds, remove tips and discard or save for chicken stock. Then using a sharp kitchen knife, split the wing into the drumstick and flat portions. I typically estimate needing a pound of wings per person (taking into account the bone weight).
- Optional: For extra crispy wings, follow steps 2-5, then refrigerate overnight, uncovered. The next day, allow chicken pieces to come to room temperature. then follow the remaining steps.
Nutrition
The information shown is an estimate provided by an online nutrition calculator. It should not be considered a substitute for a professional nutritionist’s advice.


These were amazing! I will definitely make them again. Thank you for the recipe!
Excellent! So happy you enjoyed these Laura. 🙂